Every year, January rolls around and as I’m recovering from the holidays I get a bright, shiny gift in the mail….my Baker Creek Heirloom Seed catalog. This book is so gorgeously printed that it causes a person to wonder how on earth they can afford to print such a quality piece of marketing material by just selling seeds. I mean….

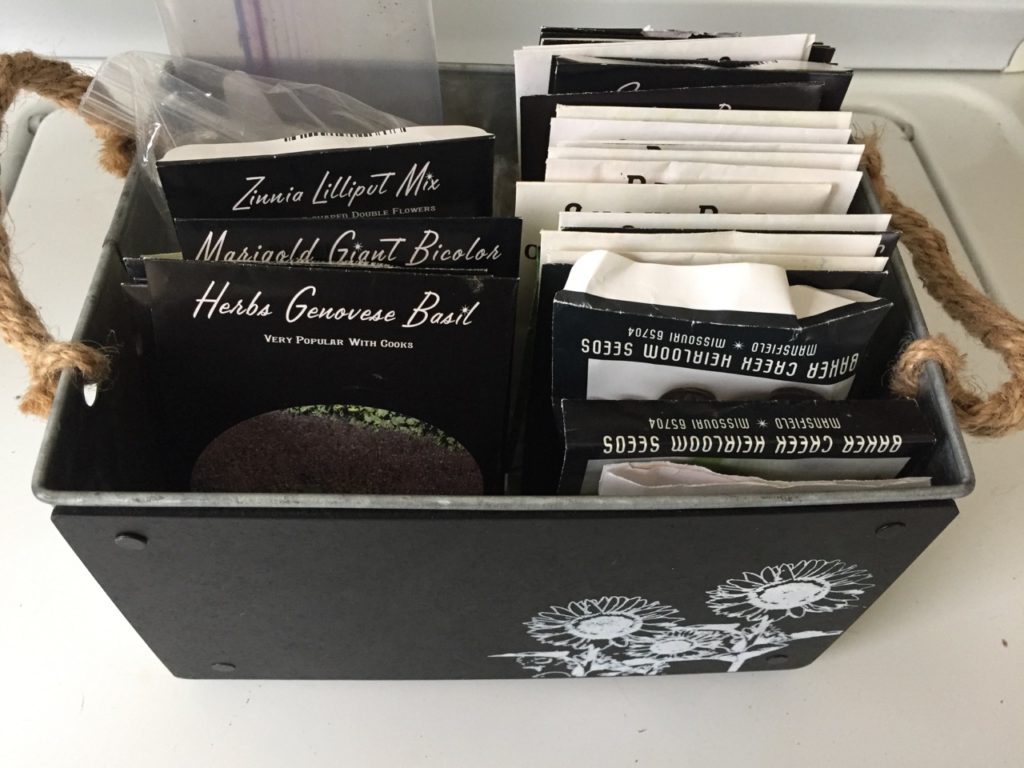
A friend recommended this company to me several years ago and I’ve never looked back. Forget the tepid, boring, lifeless varieties sold in ugly cardboard displays at big box stores. When I get seeds from Baker Creek, I feel like I’m taking part in a tradition that dates back to ancient methods of farming. I am getting an untainted heirloom product that has been lovingly preserved for generations because of its flavor, hardiness, profundity, and sheer beauty as a plant. Most years, I’ve spent less than $30 on seeds. Considering the amount of produce that comes out of our plot, this is an absolute steal! If I sound a little nuts in the head, it’s because I’ve spent years of my life in the dirt from when I was an awkward wee lass selling tomatoes on the side of the road up to this point where I sweat my arse off in the southern heat of summer, trying to coax food from a clay-hardened ground.
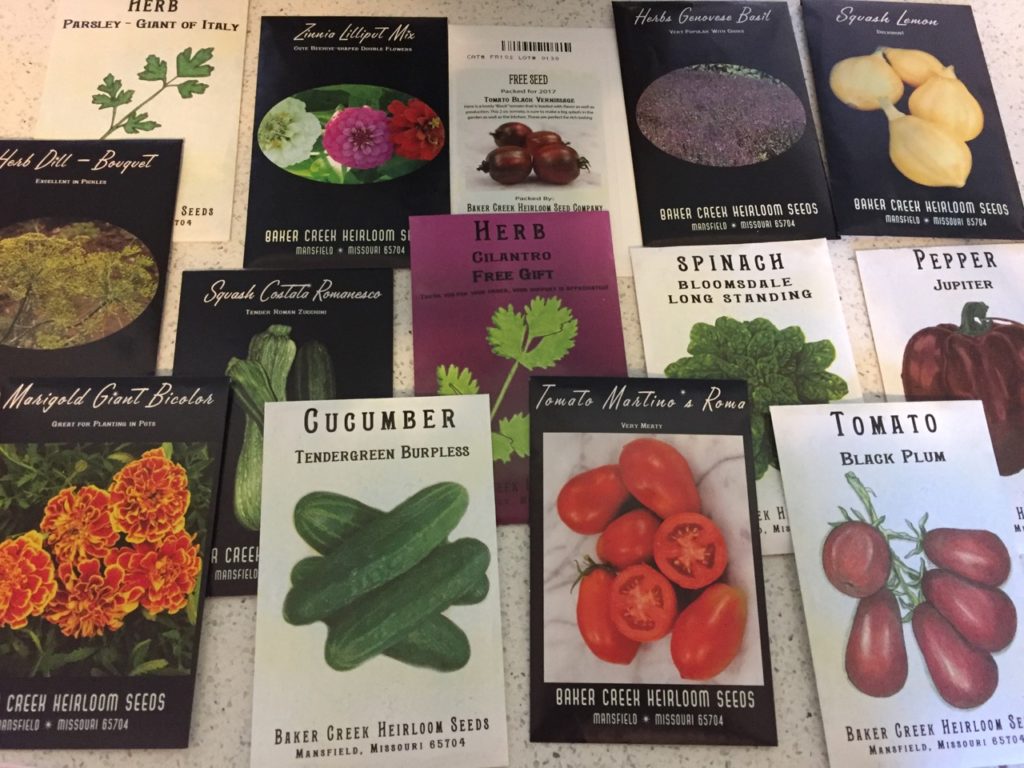
Here in Nashville we have a saying, “It all begins with a song.” Here in my yard I say, “It all begins with a seed.” The first year I tried growing from seed was a dismal failure. I got all my little cell packs, planted tomato seeds in them and put them in our laundry room which has big windows and lots of natural light. The seeds sprouted, then they kept getting longer and longer, but the leaves weren’t growing, then they sort of rotted off right at the soil line and just died on me. I felt like a total failure as a gardener and bought starter plants that year. To be clear, there is nothing wrong with buying starter plants, however, they do carry risks. Many starter plants come from other parts of the country than where you live, and especially with tomatoes, they are susceptible to carrying blight which will totally ruin your crop and spread like wildfire if not immediately addressed. Some starter plants come pre treated with pesticides which kill bees and other beneficial insects that would otherwise help your plants flourish. And sometimes they are mislabeled, so that lovely mild pepper you thought you were planting is actually a hellfire, rip your throat out, bastion of flame that will burn your molten eyes right out of your head. I speak from experience.
What I love about growing from seed is that the world becomes your oyster in terms of varieties available to you (except oysters are gross, snot on a shell basically, so just use that as a metaphor and know that I don’t actually eat them). Every year I grow squash and beans I’ve never seen anywhere else, except in this garden. I grow tomatoes that cannot be purchased from local farmers or supermarkets. And even flower varieties I would never think to plant because they are annuals have found a home in my flower beds because they are so different and pretty. You just never know! So after that first failed attempt at growing from seed I realized that the single most important factor to starting anything indoors is light. A sunny window might seem like enough light, but odds are your plants will end up leggy with long thin strands of stems they can’t stand on.
LIGHT
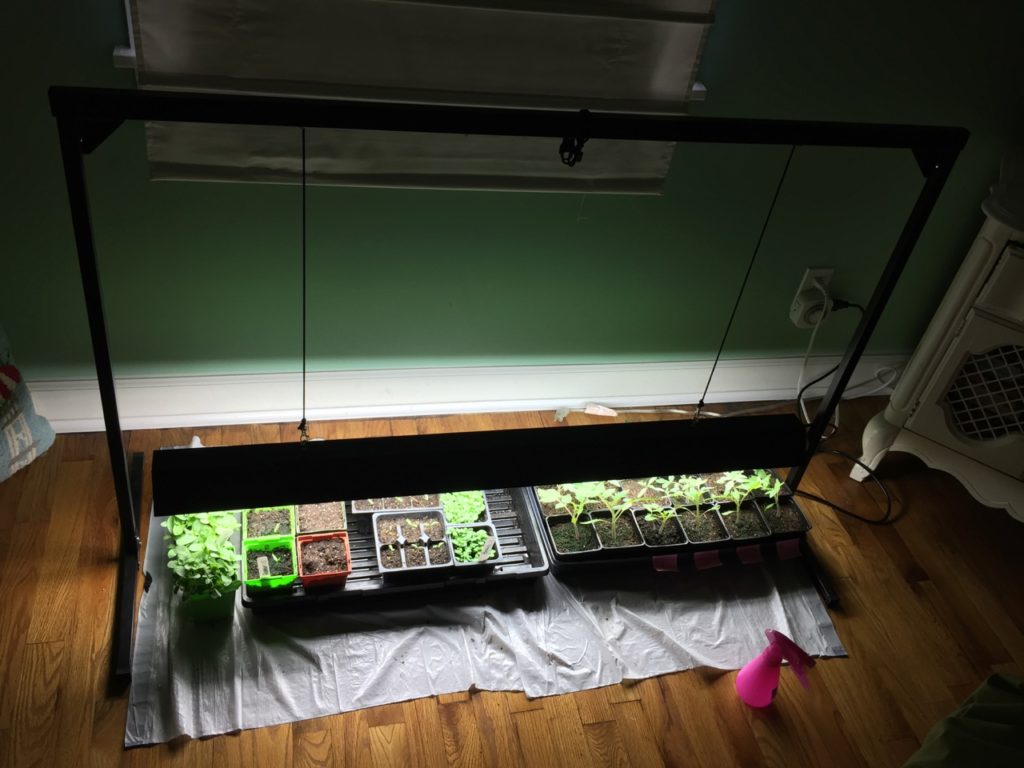
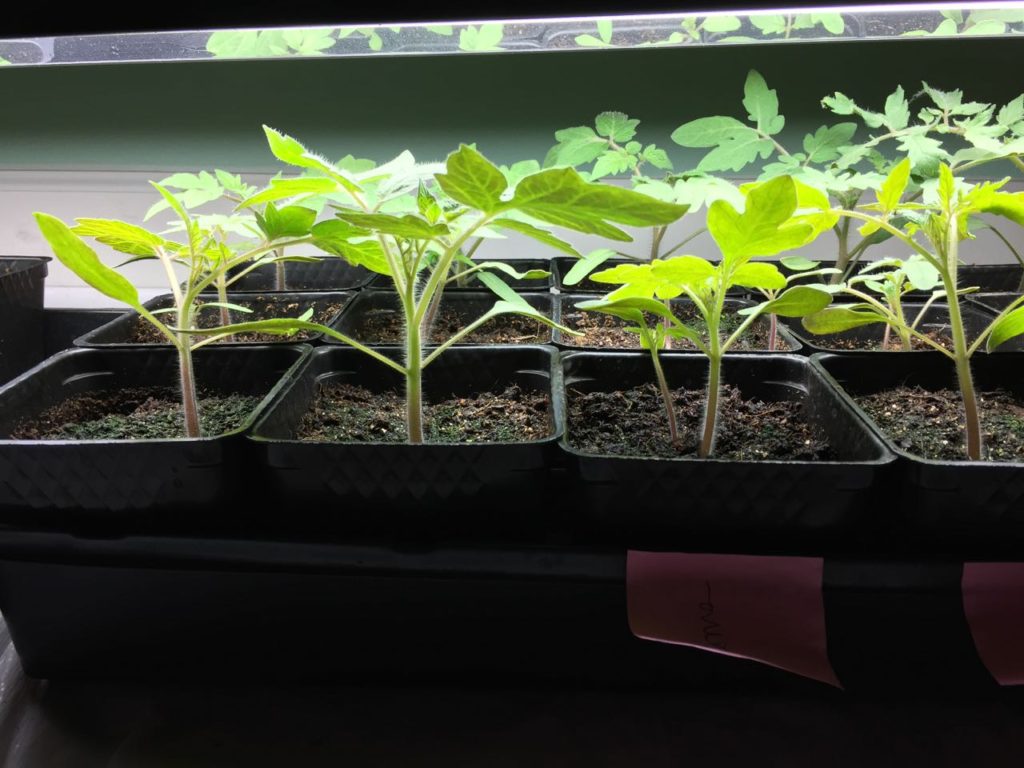
I purchased a grow light from Amazon and have never looked back. The Purple Reign light can fit two full flats underneath it, so what I do is I start some and then move them outdoors once leaves are established so I have room for plants like tomatoes and peppers that need constant light and warmth. I have it set up on a timer and leave the light on for 14 hours per day. At this rate, it takes about 4-6 weeks for my tomatoes to reach a stage of health and readiness for the outdoors. I don’t plant anything outside or leave anything out overnight until the temperatures stay above 50 degrees. Typically, I keep the grow light about 2 inches above the plants. As they get taller, you raise the light up so the leaves don’t burn on the bulbs. If the light is kept too high above the plants, the seedlings will grow taller in an effort to reach it which could result in leggy, weak stems.
SOIL
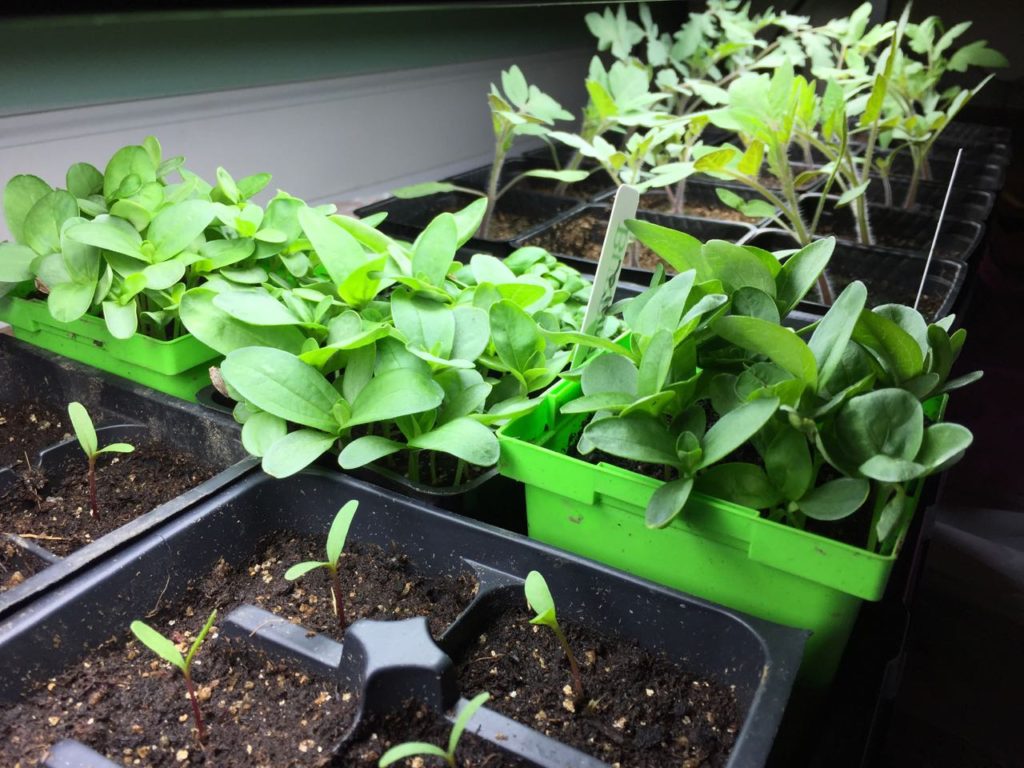
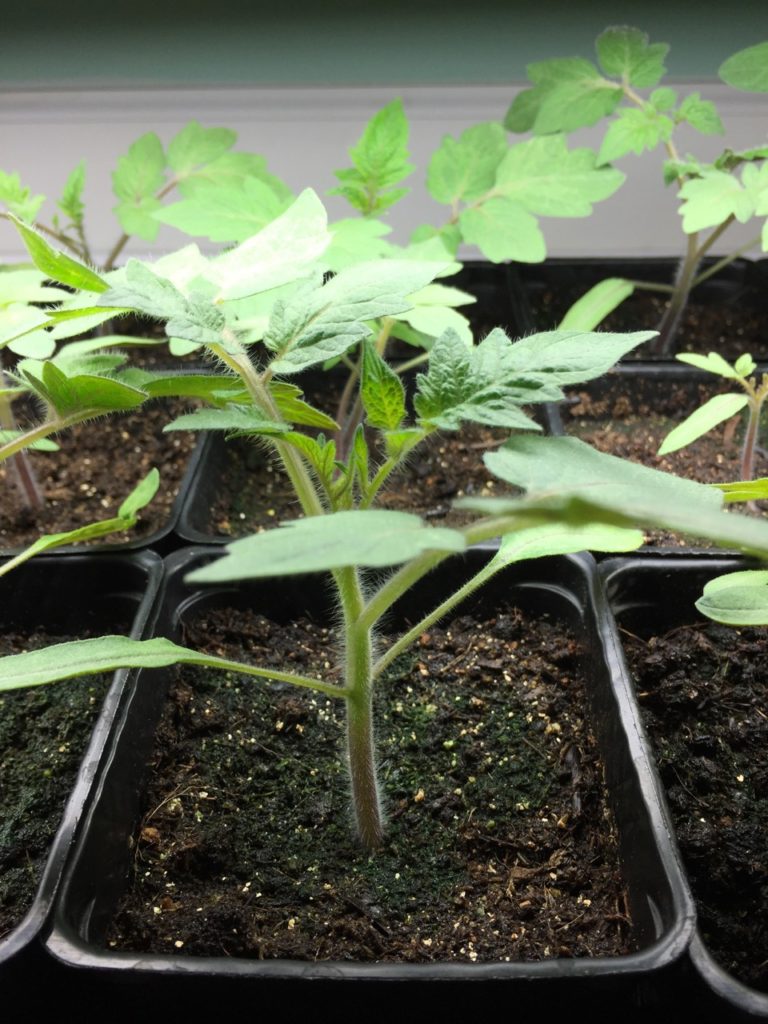
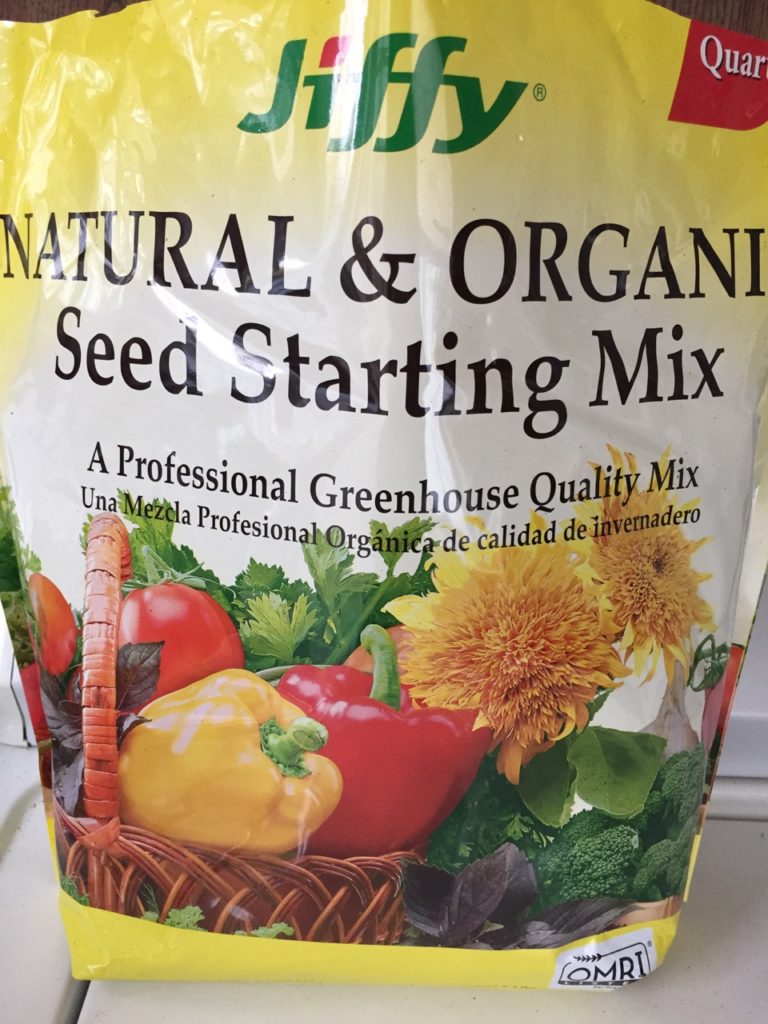
As far as what to plant the seeds in, I use an organic seed starting soil that you can purchase anywhere. The reason I use this and not regular potting soil is that seed starter tends to be more sterile. Potting soil has a tendency to develop fungus gnats which are a total pain. If you notice small gnats flying around your seedlings, create a diluted mixture with a drop of Dawn and some water to make a mild soapy wash. Water the plants with that and it should take care of the problem. This will not harm your seedlings. Seed starting soil is very light, so when you first try to water it, it’ll float on top of the water and really piss you off and make you want to throw things. What I like to do is use a spray bottle to wet the tops of the soil and then I water everything from below by adding water to the trays as needed. The spray bottle is gentler when the seeds are just sprouting and will keep you from drowning the seedlings with a watering can. Once they’ve popped out of the soil I think it’s better to water from below so the stems don’t rot off at the soil line (this is mostly a tomato issue called damping off, which I think is a disgusting name. Imagine using that in conversation. “Oh, how are you today?” “Man, not so great, I’ve got a bad case of damping off.”).
CONTAINERS
Many seed starting kits come with these tiny plastic black cells and I think these things are crap because they are way to small to house the roots of most plants. Your seedlings will need to be transplanted before they’re even ready to go outside. Tomatoes have very deep roots and squash must not be root bound before being planted outside, so I got these 3 1/2 in square pots at a garden supply store for $0.30 apiece (you could order them online too) and I can fit 18 of them in a tray. I put one tomato per pot, one squash plant per pot, and then for herbs and flowers I just drop a bunch of seeds in there and have a cluster in each pot. For peppers, I find they work great in 4-6 cell containers because they grow slower and the plants stay small. I also put my cucumbers in 6 cell containers. Most of my containers are ones I have saved over the years from plants I bought at garden centers, so they are all reused. If you buy berries at the store, the plastic containers they come in are excellent because they have drainage holes built in the bottom. I also don’t prefer peat pots because first of all, the harvesting of peat moss is bad for the environment and screws up a lot of marshy habitats. Secondly, I’ve seen the peat pots develop mold and need to be peeled off anyway before the seedling is planted in the ground, which totally defeats the purpose of planing in a peat pot…I digress. This is just personal preference.
AIR/SUN
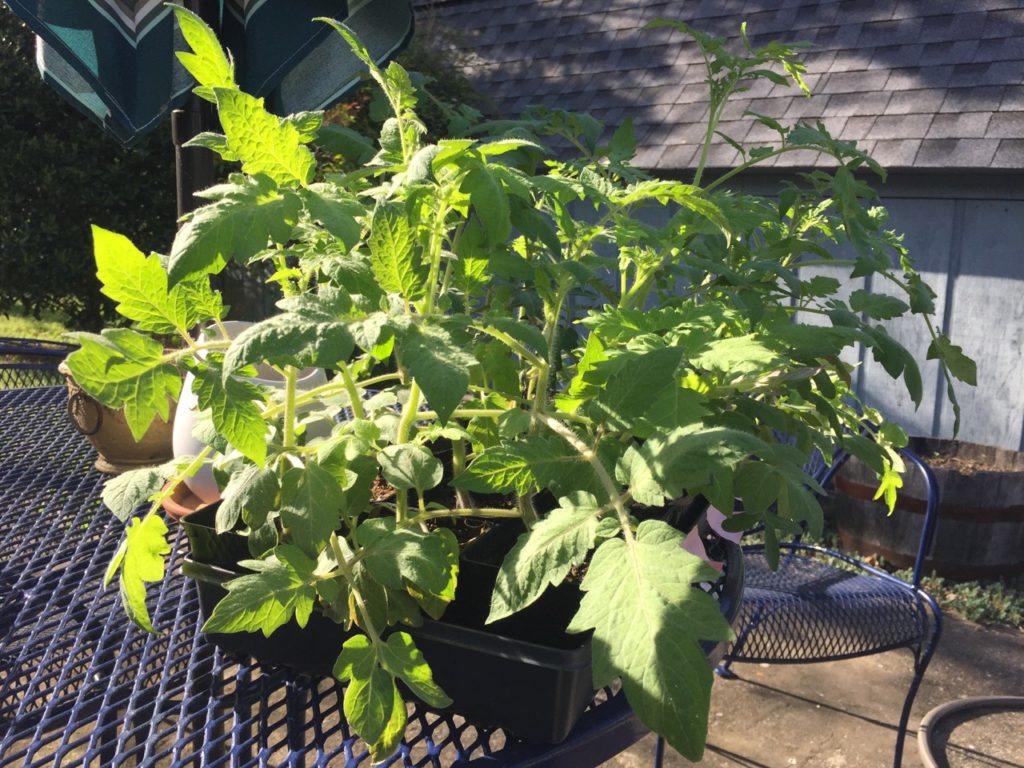
Once you notice that your seedlings are beginning to look hardy and have strong stems, you can begin what is called hardening off. This is when you take them outside for a portion of the day to let them get natural sunlight and air movement that will strengthen the stems. You have to be careful about this though because sometimes direct, hot sunlight can burn the leaves on a tender seedling. For things like squash or cucumbers, you should be totally fine to put in direct sun (make sure they are watered so they won’t dry out). For plants like tomatoes or certain more delicate herbs, some shade under an umbrella will suffice until the plants are strong enough to handle full sun. Also, don’t accidentally put them outside when a torrential downpour is in the forecast or you will hate yourself.
DIRECT SOWING
There are certain plants that you can absolutely start right in the ground and do not need to start inside ahead of time. Examples are squash, cucumbers, herbs like basil, parsley, cilantro, dill, beans, and leafy greens like spinach and lettuce. Many of these will sprout in 7-10 days and absolutely take off once they’re established. I have chosen to start my squash and cukes ahead of time because I have vine borer and cucumber beetles in this region of the country. I find that giving the plants a head start strengthens them against these pests for a little longer and actually lets me harvest a fair amount before the squash plant needs to be pulled. A farmer recently told me that way to avoid vine borer is to plant AFTER their season is done, which is around the beginning of June. I am going to try this for this season and report back. Vine borer in the South have two rounds, so if I plant in between, maybe I will get less damage. We shall see.
TRANSPLANTING
OK, so you’ve grown these plants from tiny little seeds and they seem so fragile, pathetic really, like a strong gust of wind could blow them to smithereens, or a feisty mockingbird could have its way and decimate an entire row of tomatoes just by tweeting at them. Once I’ve figured out the layout of the garden and where I want the plants to go, I bring out only the ones that are ready to go into the ground, so the others don’t wilt in the sun. For tomatoes, I add crushed eggshells to the hole before planting them because it’s a natural way to add calcium to the ground, which in turn can help keep skins from splitting later on. You can save eggshells in a Ziplock in the fridge or pulse them in a food processor to get them fine enough. I also put a small ring of newspaper around the neck of each seedling which will protect it from cutworms. Cutworms are brown caterpillars that chew the stems of seedlings and kill a plant before it’s even had a chance to start. Tomatoes can also be planted rather deep if the stems are leggy because roots will grow off of the stem.
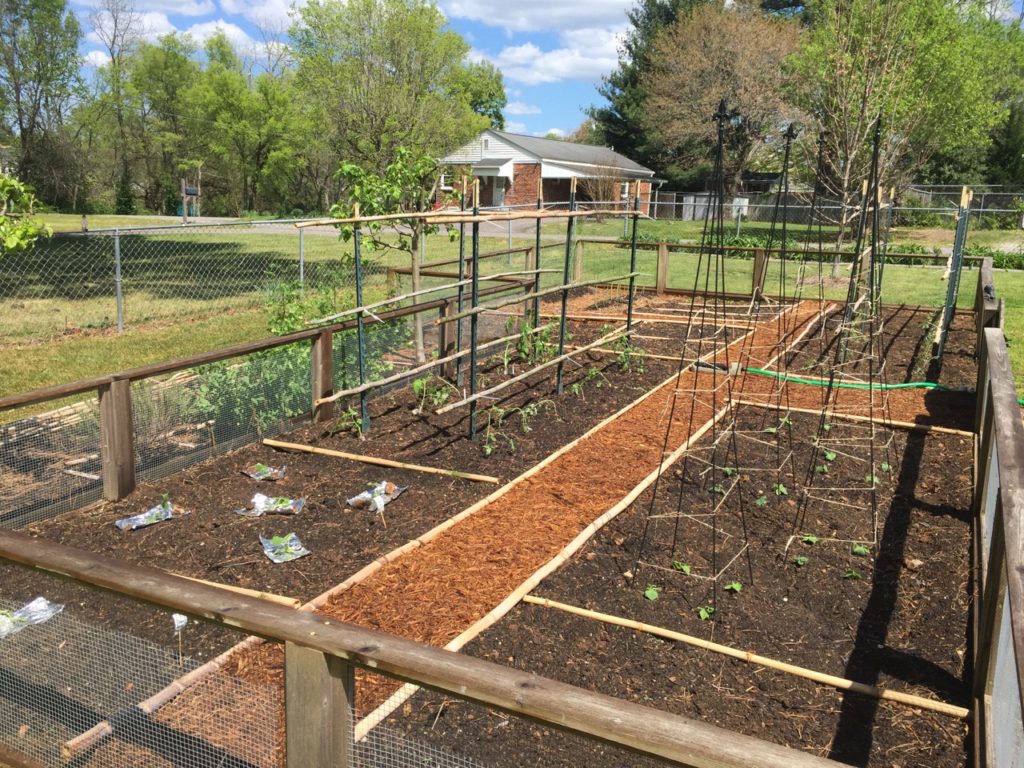
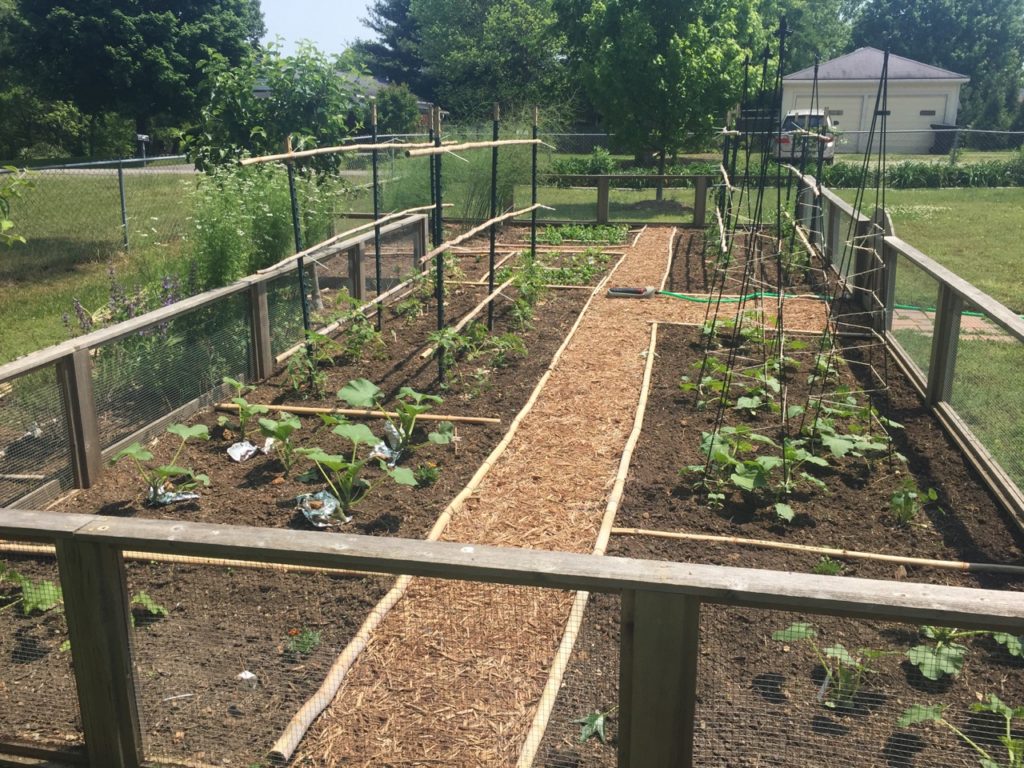
For squash and cucumbers, I am very careful not to break their stems because they snap a bit easier. I don’t believe in making mounds for squash or cukes, it just seems unnecessary. Plant the soil line of the seedling even with the soil line of the ground. For others, like herbs, just plant as you would any flower that you bought at a nursery. I love grouping herbs like basil as opposed to separating and planting single plants here and there. Keep in mind when you first plant the seedlings, they will look wilty for a bit and you might think they’re going to keel over and die. Keep an eye on them, water them, but don’t over water them (no helicopter parenting), and they will perk up once new roots start growing. Here are a couple of pics from last year. The first one is right after the seedlings were planted and they look sad. Then they perked up…
So that is what I do. A lot of this is personal preference and there are so many other ways to successfully grow seeds indoors, although I do think a light is a necessity regardless. Some things have worked better for me than others, and this year I’m really happy with what’s coming up so far. It’s ALWAYS an experiment. Every year is different. The weather can make or break the season. Too much rain, stuff rots. Too little rain, stuff dries out. Sometimes one variety is a total fail in your area, but another variety of the same thing could become your new favorite that you’ll plant year after year. It just depends!!! Please feel free to comment with tips and tricks that have worked for you. I’m always learning and love to hear what other gardeners have discovered in their own plots. Happy planting!!!