The floors are in and we are ready to install the cabinetry!!! We started this project in November and are at a point where we can see the proverbial light at the end of the tunnel. Before showing the pictures of how things are looking now, I want to talk about the cabinets. As many of you following the blog know, I hit the “handy dude” jackpot when I married Rob. He’s not only a sweet, kind, adorable guy, but he’s a cabinet maker who crafts beautiful furniture and cabinetry, plus has some great remodeling skills! When deciding what we wanted to spend on this project and how nice the cabinets should be, we briefly threw around the notion of having him make the cabinets. The materials alone would have eaten a significant part of our budget, plus the physical cost of having to construct these cabinets on top of his day job would have taking its toll on him. Also, our house is in a neighborhood of small bungalow homes, so even though this endeavor will hopefully increase the value of the home, we didn’t want to put a $40,000 kitchen in a house that wouldn’t increase in value on that scale.
We made the reluctant decision to purchase unfinished pre-fab cabinets from Home Depot with the idea that Rob would add some custom details to them, finish them with a professional sprayer, and we would purchase quality hardware to make them look a little nicer. I bought the cabinets at a time when they were 20% off in the store, plus I used discounted gift cards for the purchase. I also wrote a letter to Home Depot after a horrible customer service experience, which resulted in us getting two cabinets for free. The total cost of the cabinetry for our entire kitchen was $843 (excluding paint, hardware, and trim).
The old adage “you get what you pay for” has merit when it comes to most things, and in this case, cabinetry. Even though we saved a crazy amount of money by purchasing pre-fab, we had many, many issues. My true sentiment is that I would NEVER recommend these cabinets to ANYONE and I think that Home Depot as a company should be completely ASHAMED for selling this garbage in their stores. Obviously, Rob has the experience required to fix the issues we found and he also had the skill to make two skinny cabinets to account for weird measurements in our space. In addition to this, he added strips of wood to the end cabinets to create corners where the doors would actually open without hitting each other. He added toe kicks to all the end cabinets and created paneled ends on the exposed sides, so the cabinets would actually have a professional, finished look to them.
In order to prep the cabinets for painting, we had to do the following:
- Sand all surfaces. These things say they come pre sanded, but there is no way in hell you could paint them straight out of the box.
- Remove globs of glue that were showing on the doors.
- Fill in all cracks, gaps, and repair corners that were chipped with wood filler.
- When we took the drawer fronts off of the drawers, they literally FELL APART because there was no glue on the drawers!! No glue!!! So that means if we had filled these with anything heavy, the sides would have fallen open when the drawer was pulled out. Rob added glue and then shot nails into all sides to secure the structure of each drawer.
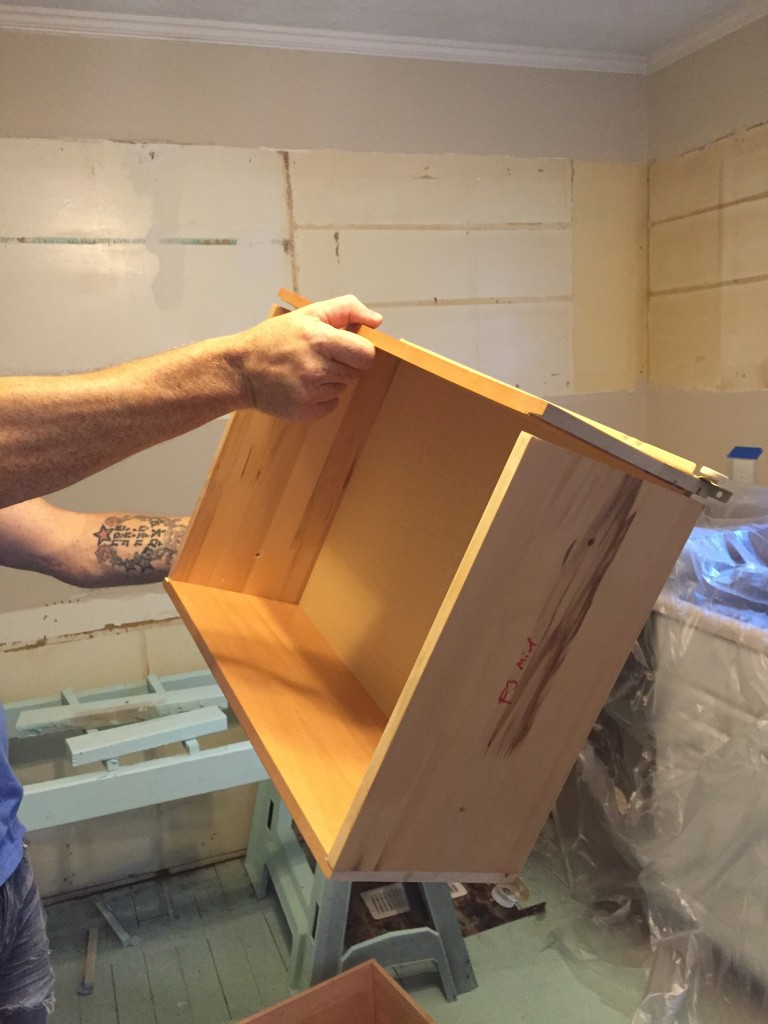
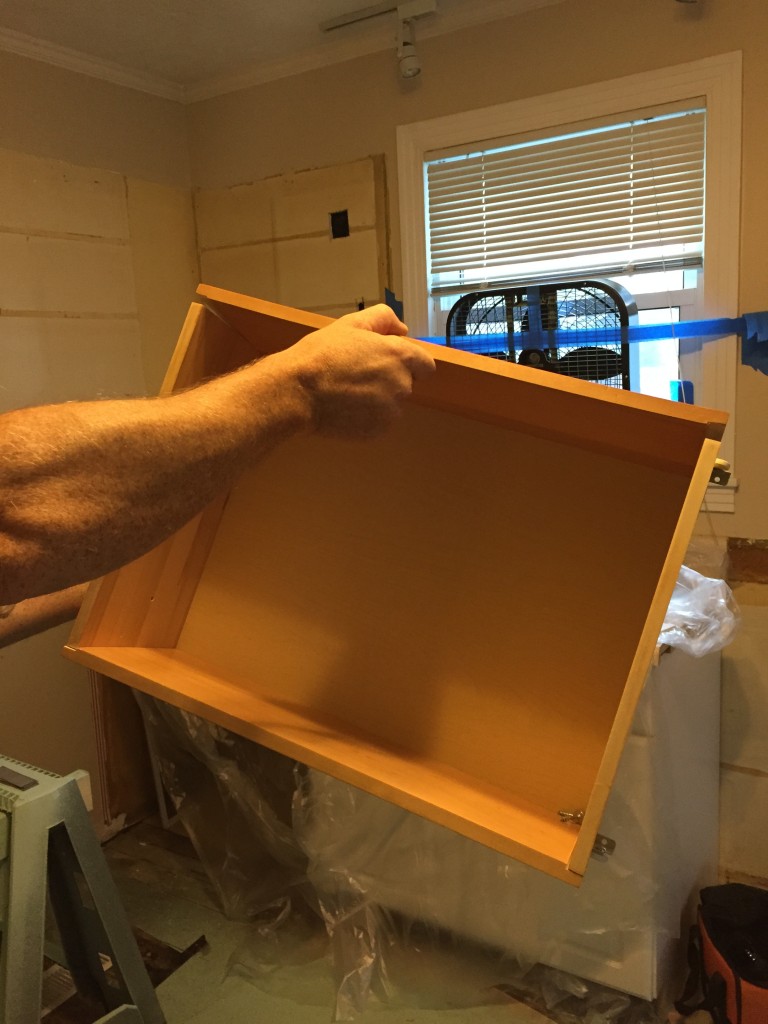
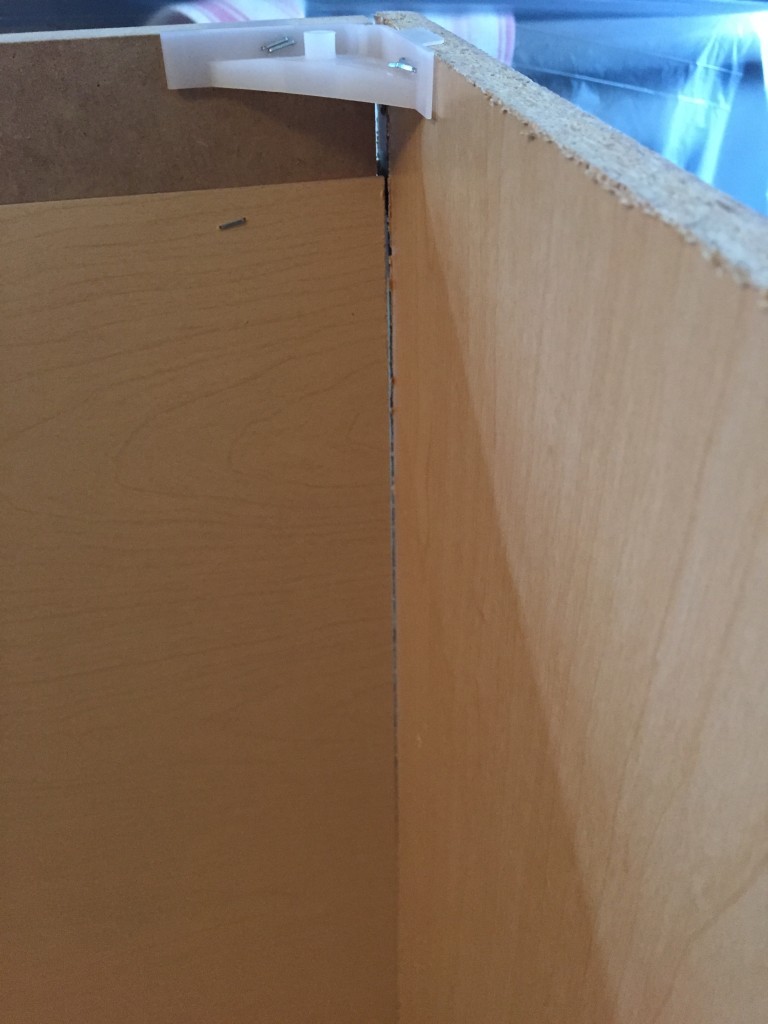
- While we were picking up the cabinets with one of us on each side to carry them out to be painted, some of the boxes literally were coming apart in our hands. A couple of the nailers, the part that you shoot a screw through to secure a cabinet to the wall, fell off in our hands, which means that had we hung the cabinet on the wall, it would have fallen off. Rob restructured every cabinet, by adding glue and shooting more nails in the sides. Below is an example of the stellar workmanship on the corners of the boxes.
- The backs of the cabinets are stapled on. Stapled. Got that? So as we were installing some of the bottom cabinets, the backs just, you know, came off. Rob glued and re-stapled to secure the backs to the cabinets.
- Each cabinet only comes with ONE SHELF. Older pre-fab cabinets came with two shelves and there may be some that still do, but this effectively halved our storage space, so Rob will be purchasing plywood to make additional shelves for every cabinet.
So, we paid $843 for our kitchen cabinetry (a great deal, right?!), but ended up putting many dollars worth of time and effort into these to make them suitable for our needs. I’m grateful that they turned out as well as they did, but the frustration, time, labor, and additional materials we had to invest make them an item for any amateur DIYer to run from. I do NOT recommend!
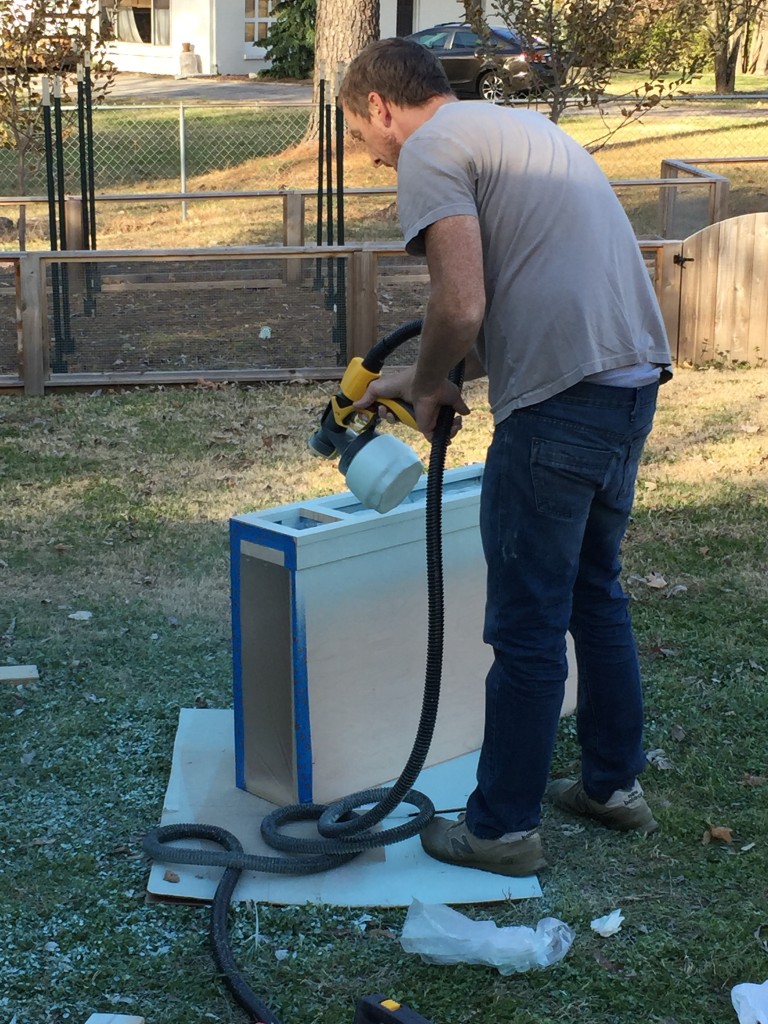
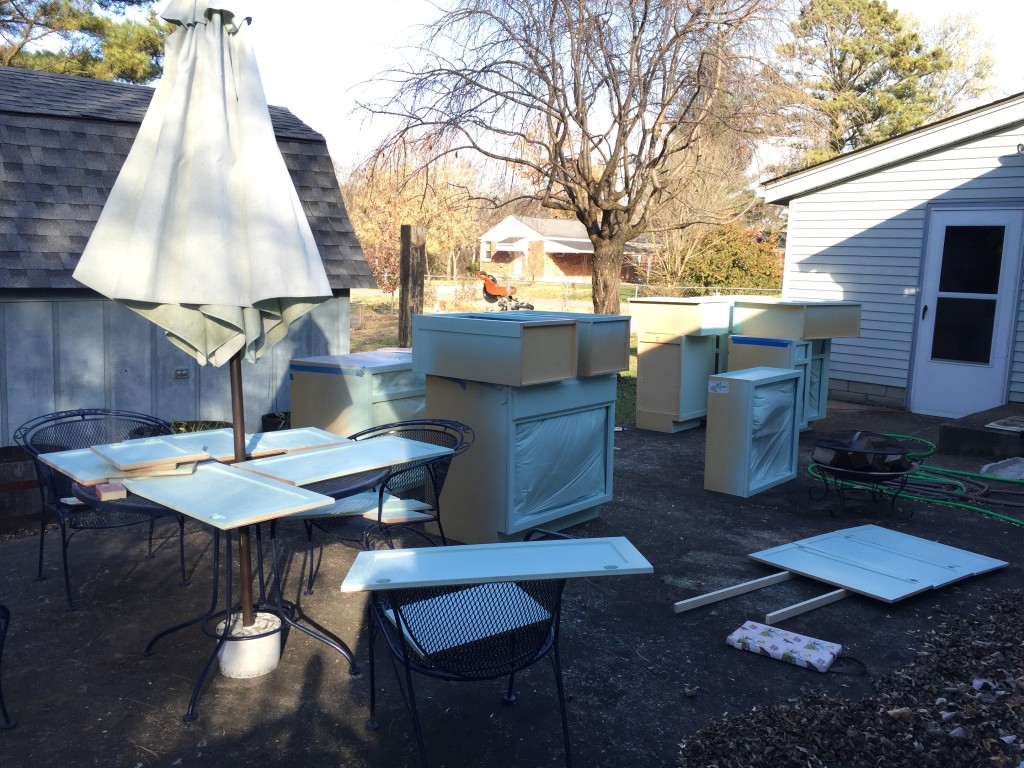
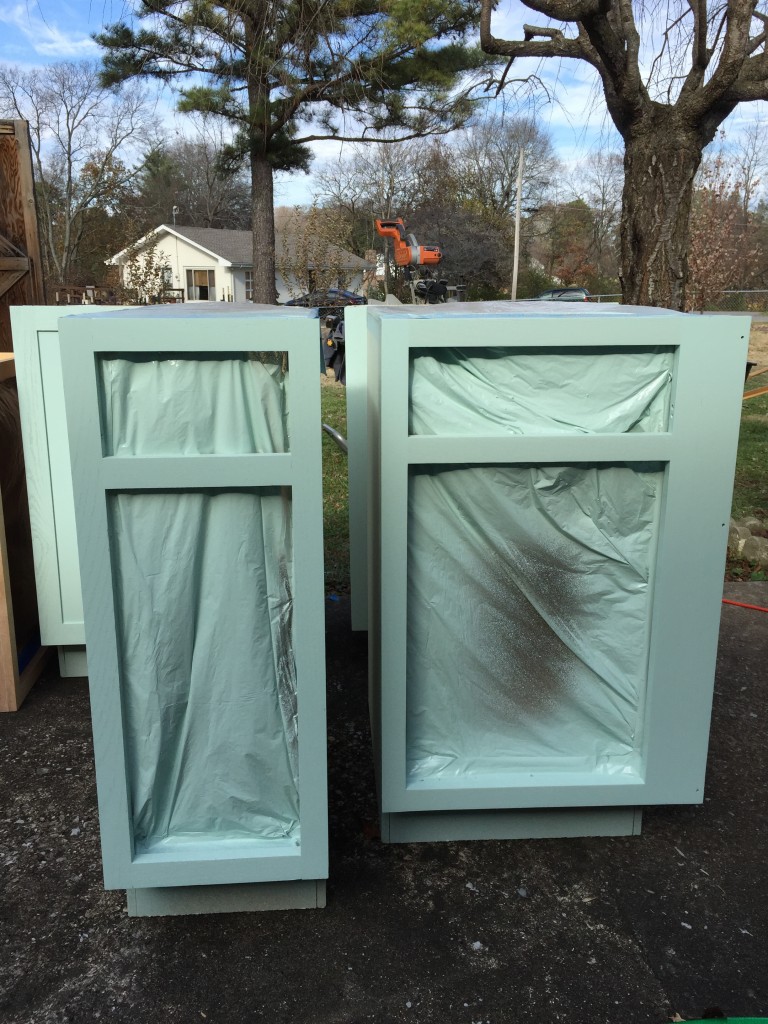
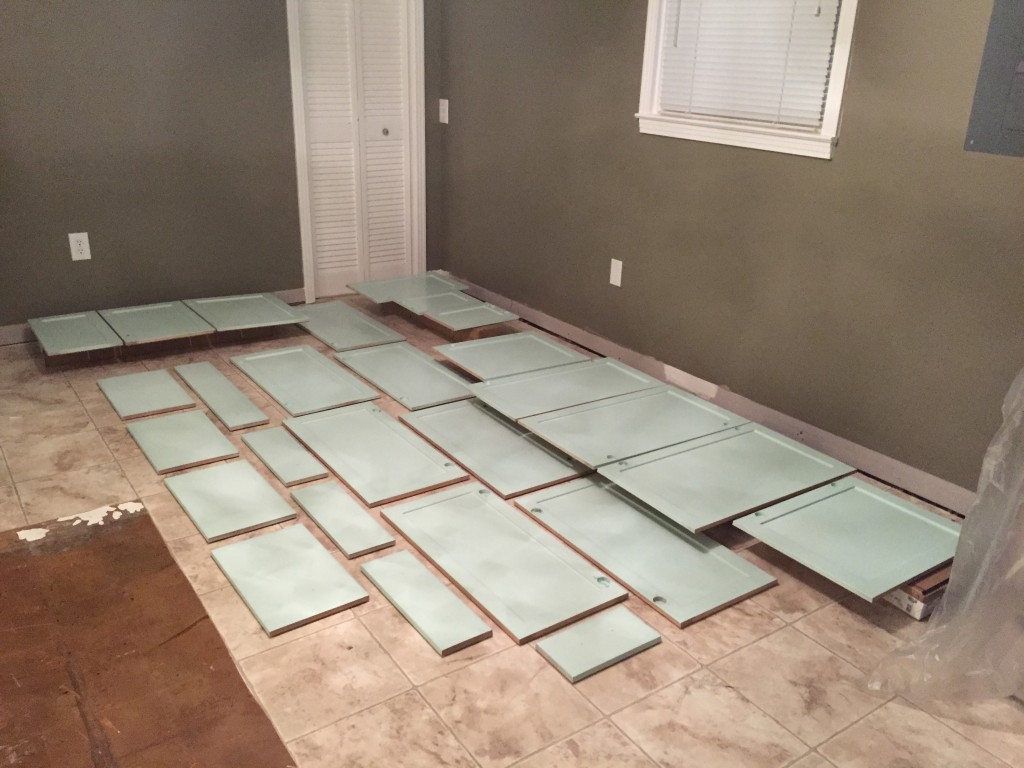
Back in November we took advantage of every day where the temperature was over 50 degrees until we finally had to move inside and set up shop. We taped off the insides of each cabinet using blue tape and plastic sheeting. Rob purchased a sprayer and used three coats of latex paint and primer. The color we chose was Sherwin Williams “Breaktime,” for its obvious beachy feel and relaxing hue.
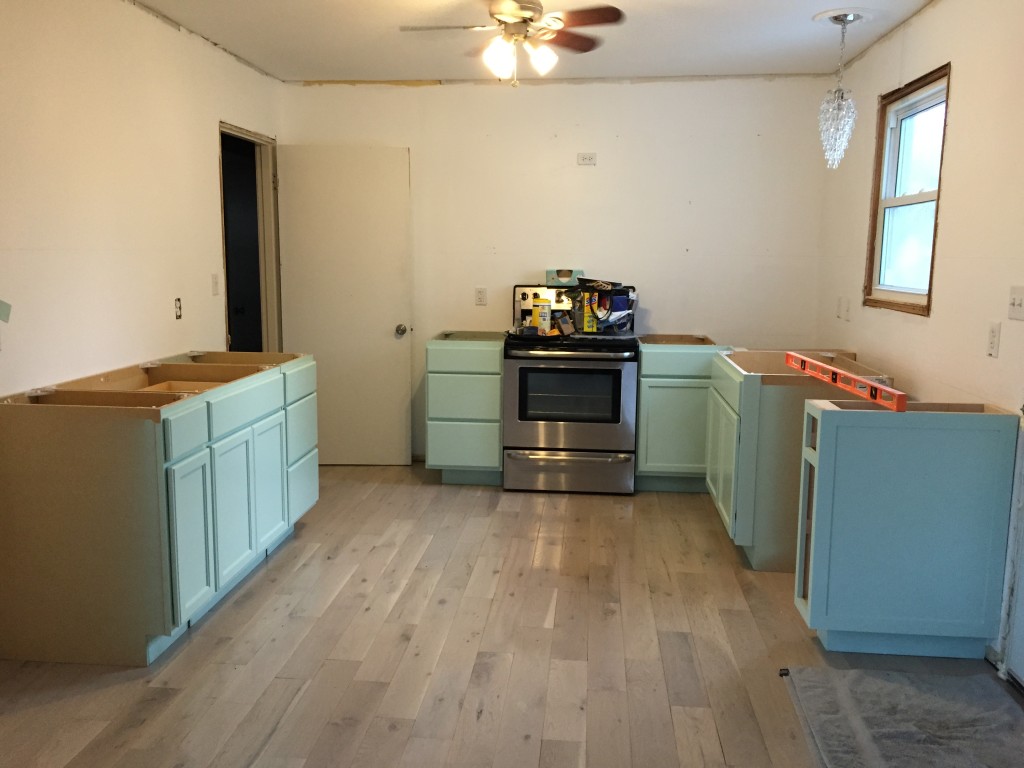
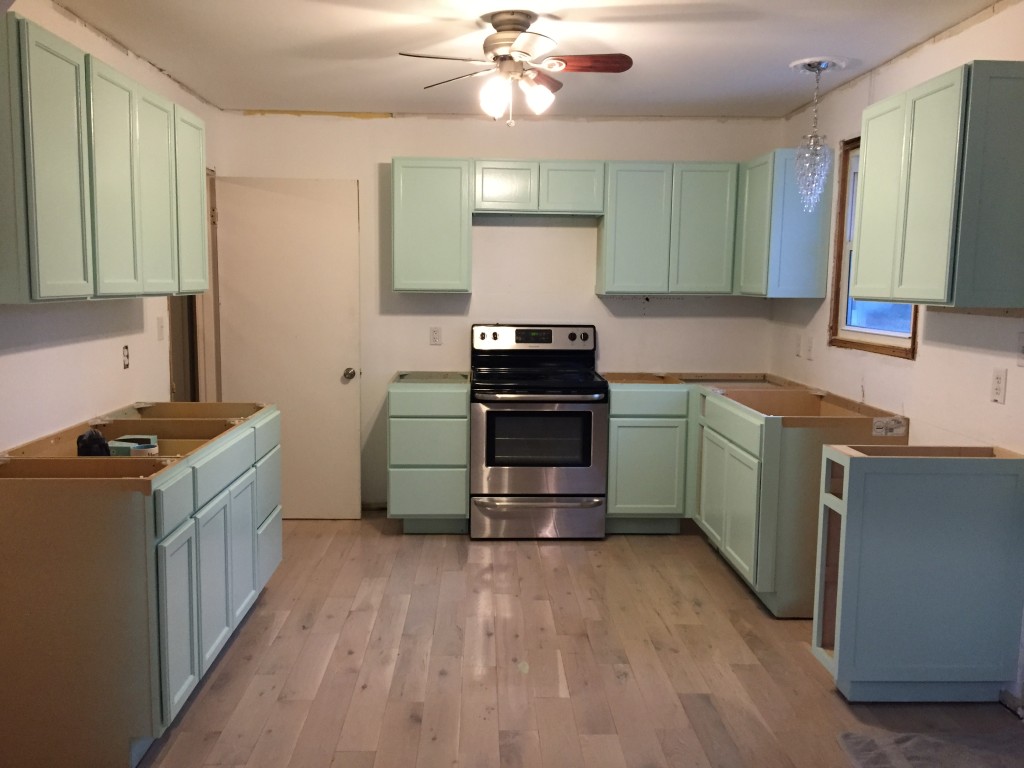
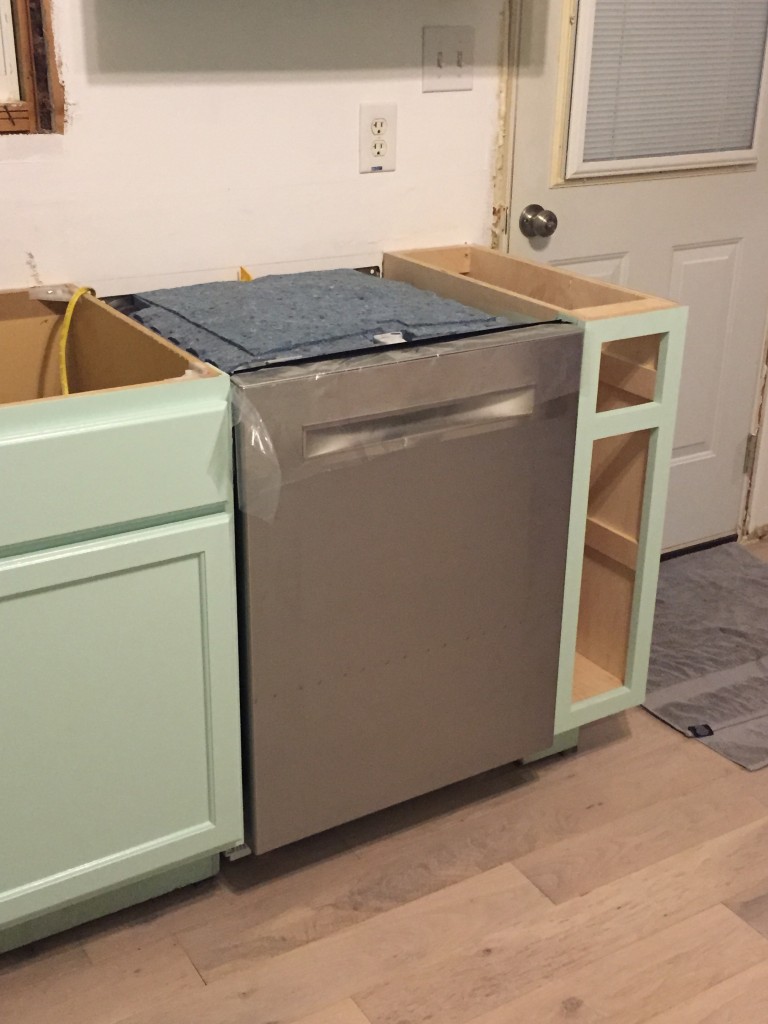
The countertop will be installed in a week and then we can have the plumber come and connect the dishwasher and sink fixtures. A dishwasher!!! Excuse me while I go freak out.
Leave a Reply
You must be logged in to post a comment.